A Comprehensive Guide To Correct Installation Of Bathroom Glass Clamps
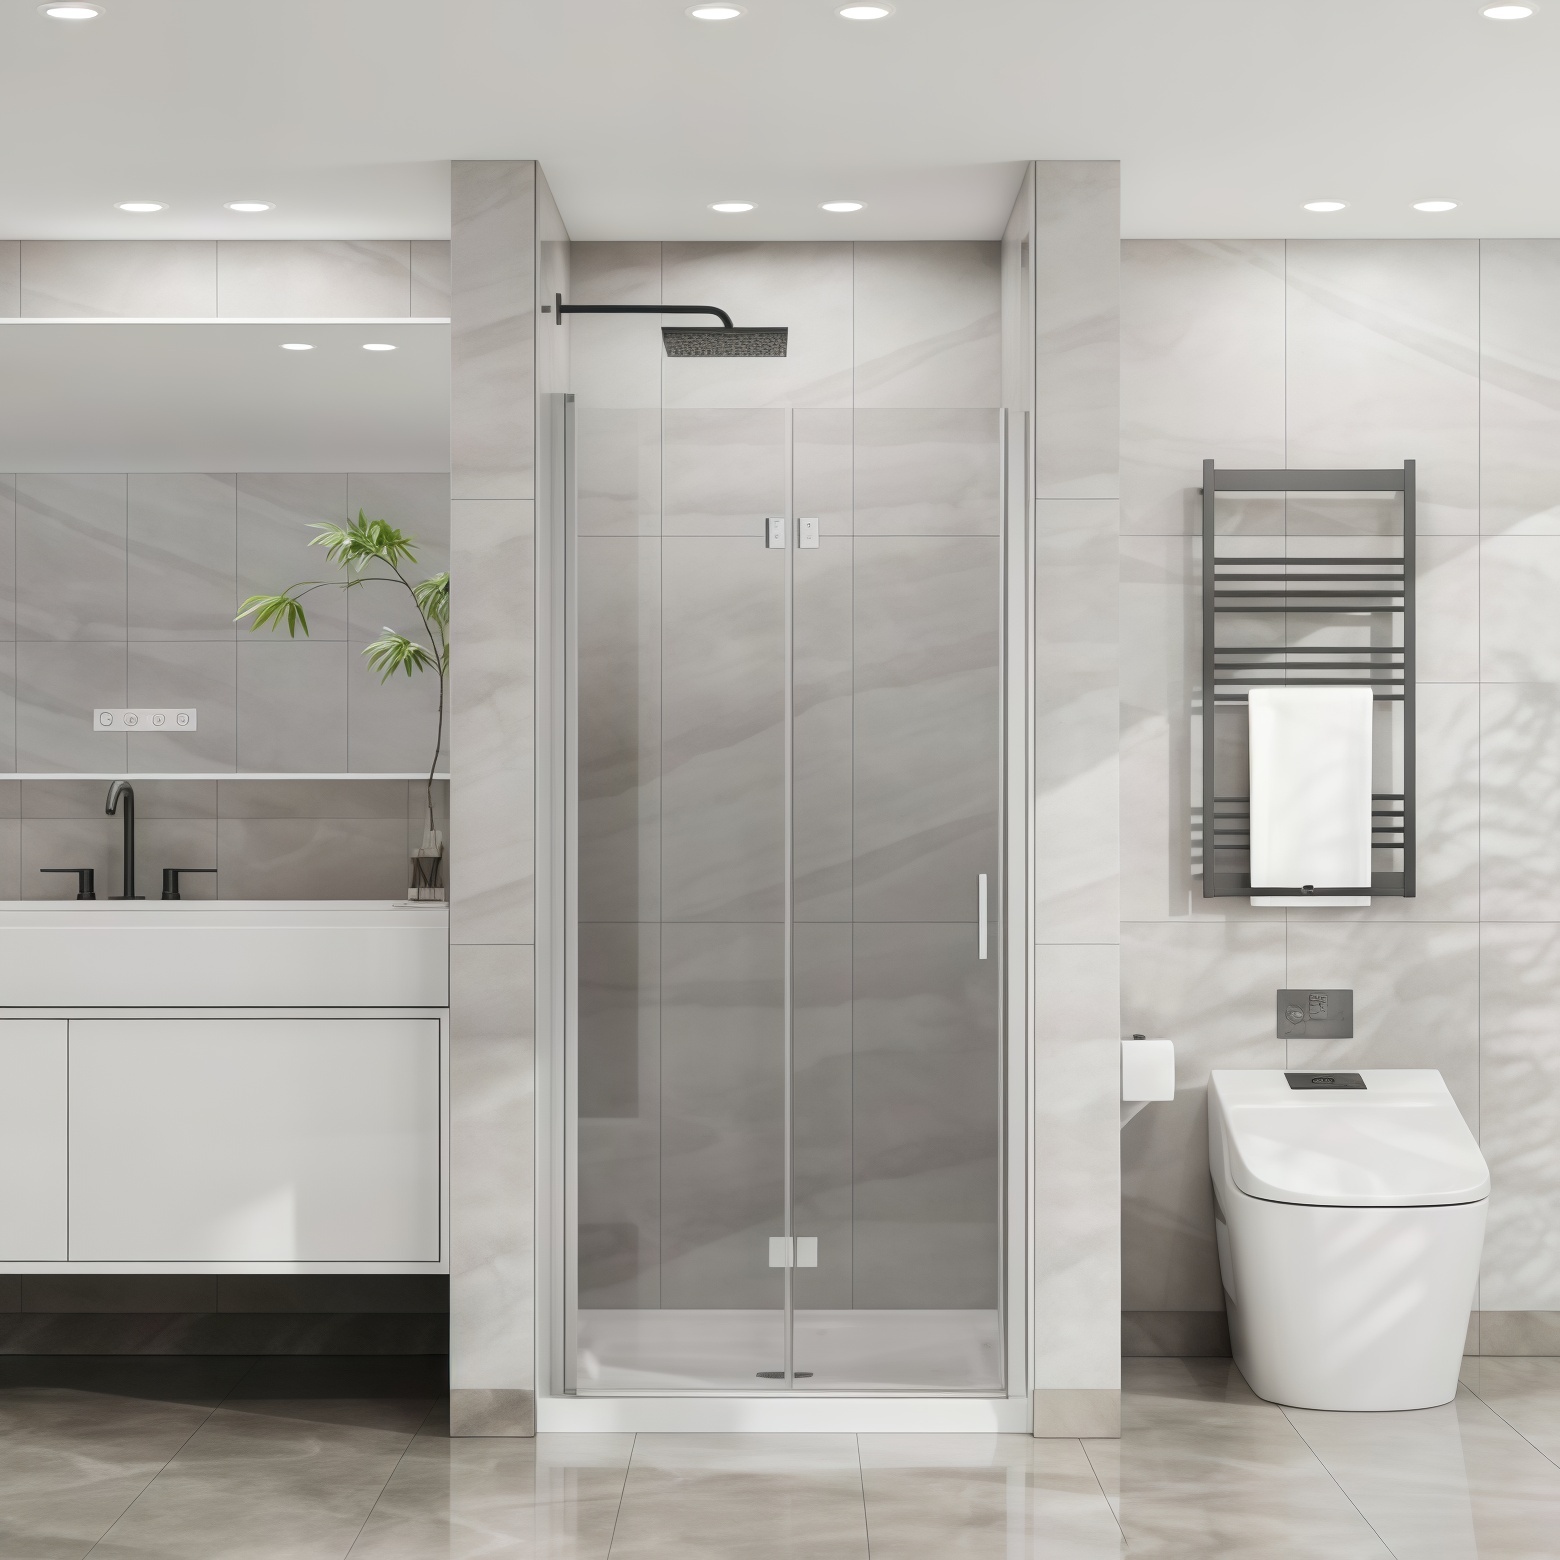
Despite being tiny hardware parts of a glass partition system, bathroom glass clips are essential for holding the glass in place, distributing weight, and preserving the stability of the entire structure.
It takes more than just "clamping" the glass in place to install it correctly. It necessitates a thorough evaluation of elements like the kind, thickness, dimensions, installation site, wall construction and operational environment of the glass.
Before installing, confirm the type and specs of the glass
It is crucial to determine the type of glass being used before installing the clamps, as differences in weight, strength, and load-bearing capacity will affect clamp selection.
Although laminated glass is safer and reduces the risk of falling shards when it breaks, its greater weight requires the use of clamps with higher load capacity and more fastening points.
Depending on the glass configuration, choose the proper clamp type
It's critical to select the right model based on the installation setup. Even if the clamp is of excellent quality, overall stability may be compromised by using the incorrect type.
- Wall-to-glass clamps use screws to secure the glass to the wall construction. These are usually utilised for fixed glass panels, like bathroom dividers or shower enclosure side panels.
- Glass-to-glass clamps connect two glass panels, making them appropriate for corner or L-shaped shower enclosures. They can create a stable structure between the panels by facilitating connections at angles of 90°, 135°, or even 180°, depending on the design.
- Floor-mounted clamps reduce lateral swinging and strengthen the glass's base. Large, tall, or top-unsupported glass partitions are frequently utilised with them.
How should bathroom glass clamps be installed?
- Determine the sites of the clamp installation and measure the size of the bathroom glass.
- Drill two holes in the glass beforehand. Anti-slip pads, clamping pressure, and clamping plates are used to secure the glass.
- Mark the drilling areas, use specialised equipment to drill, attach chemical anchors or expansion bolts, and then fasten the clamp base.
- After the glass is installed, it should be adjusted for both vertical and horizontal alignment. It is advised that at least two individuals collaborate on the installation because bathroom glass panels are usually large.
- Adjust the clamping force evenly after placing rubber gaskets or protecting pads. Before tightening the fasteners all the way, make sure the glass is stable.
Installing the mounting clamps is obviously more difficult than it first appears, and the following factors should be taken into account:
Instead of depending just on one parameter, installing shower glass clips necessitates a thorough evaluation of elements such as glass type, thickness, dimensions, the number of clamps, and the installation environment. In order to avoid stress concentration, which could lead to the glass wobbling or the clamps loosening, the clips must also be uniformly spaced. Using the right expansion bolts or connection techniques, sealing screw holes and connection points against water, and making sure the wall has enough load-bearing capacity are all crucial during installation. After everything is finished, make sure the glass system will continue to be safe, secure, and aesthetically beautiful by checking the vertical alignment of the glass, the clamp tightness and the overall stability.
Careful planning based on the kind, thickness, dimensions, and usage environment of the glass is necessary from the first stages of preparation to the actual installation. The bathroom glass system can only stay stable, aesthetically pleasing, and long-lasting in a persistently humid environment by using high-quality stainless steel clamps, conventional installation processes, and sound structural design for load distribution.