Here’s How To Adjust The Hinges In 5 Minutes To Solve Glass Shower Door Sagging
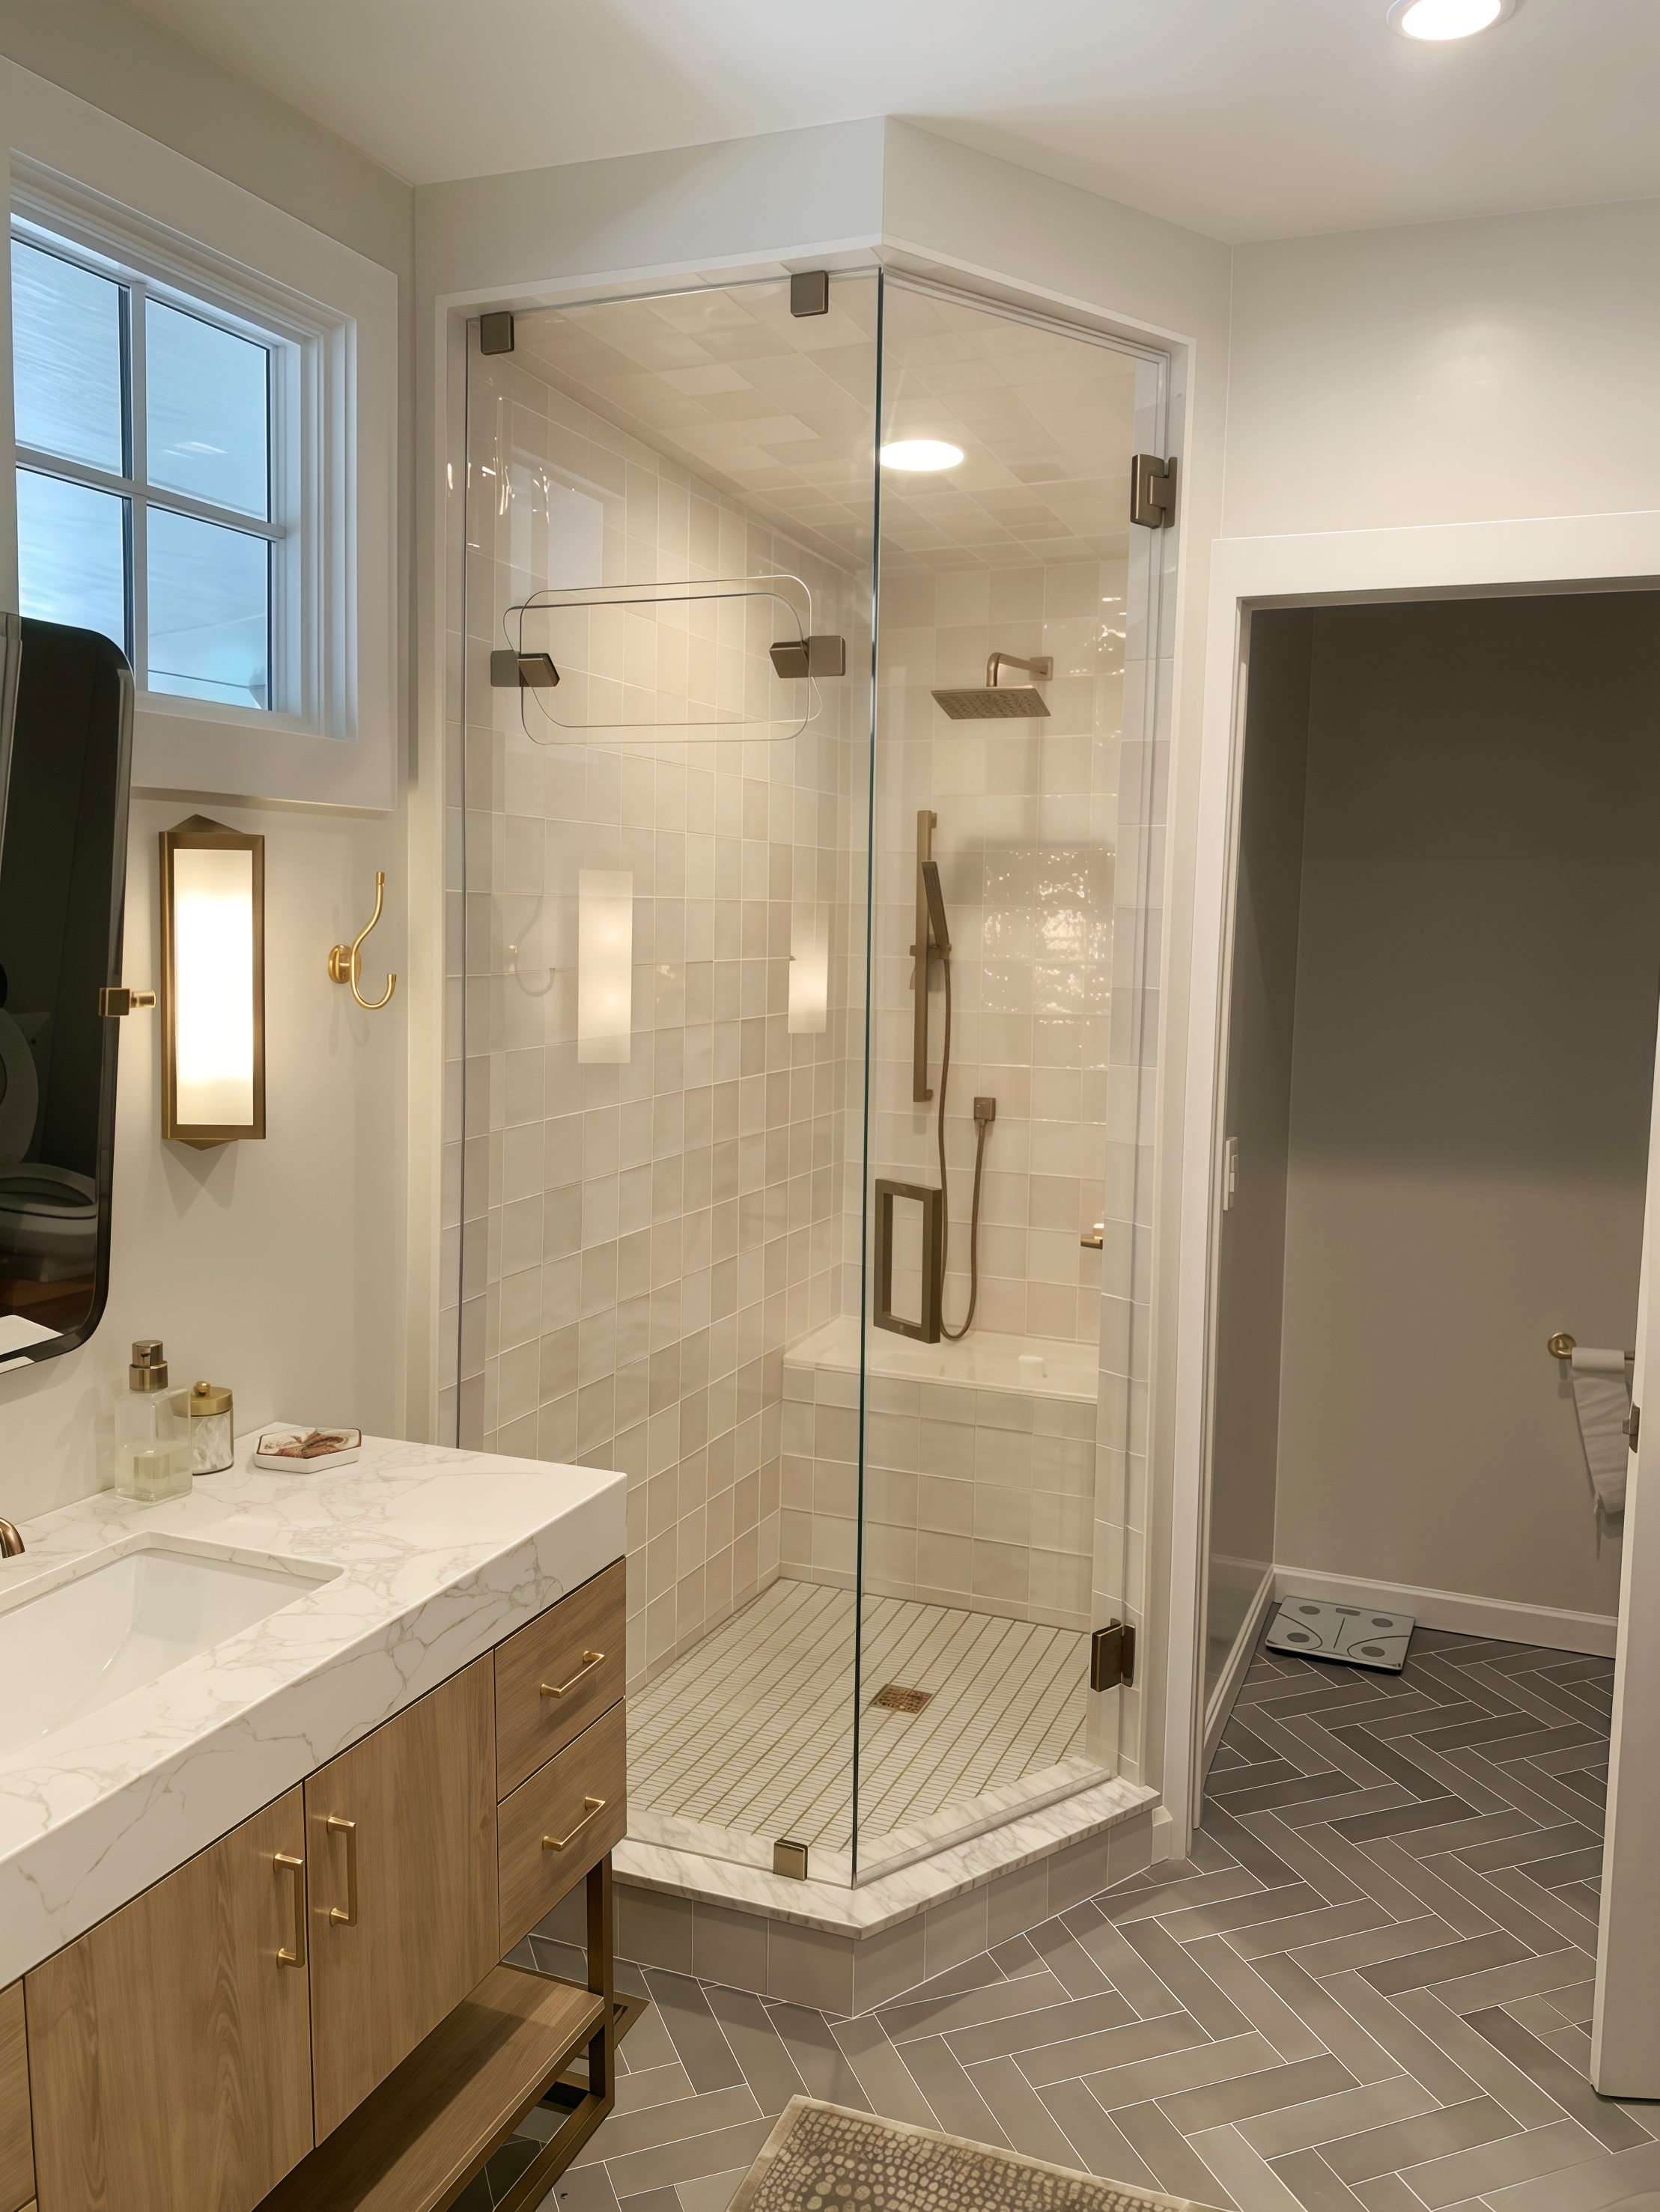
It takes five minutes to adjust glass shower door hinges on a glass shower door: inspect the gaskets, locate the vertical and horizontal adjustment screws, loosen the top hinge by a quarter turn, level the door, and then tighten the hinge-to-glass and hinge-to-wall again. The majority of sagging frameless doors are not broken. Rather, they are out of balance. The glass shower door hinges are inadequate, or the wall anchor is weakening, if the sag reappears within a month.
Read the symptoms first
For the same reasons, the majority of glass door hinges drift. The shower version simply completes the task more quickly because everything is accelerated by the water and soap scum.
Before you touch a screw, solve the issue. "The glass hinge is broken" is a cover for four things:

- The door sags. The door scrapes when it swings, the top edge falls, and the bottom corner drags on the threshold. That's the domain of adjustment.
- It's a crooked door. Either the door leans toward the wall, or the gap at the top is larger than the gap at the bottom. Adjustment as well.
- The door makes a squeak. The simplest solution on this site is lubrication, not adjustment.
- The rubber is clearly crushed, or the hinge snags metal on glass. Quit. A missing gasket cannot be fixed by any correction. You're considering a replacement.
- The bottom edge of the door leaks. That is typically not a hinge issue, but rather a height or seal issue. A worn sweep cannot be fixed by adjusting the glass shower door hinges.
Examining the gaskets before anything else is a habit that saves a lot of unnecessary work. The first component to fail is the rubber pads between the hinge and the glass. The glass shower door hinges will never maintain its position if they are removed or flattened because the metal will continue to find new places of contact with the glass. Before you begin adjusting, order a replacement hinge or new gaskets.
Usually hidden behind the hinge plate or under tiny caps, the adjustment screws are located on the hinge body. The majority of frameless glass hardware comes in three types: compression screws tighten the hold on the glass, horizontal screws move the door side to side, and vertical screws elevate and lower the door. Some inexpensive hinges have just one or two. You might have hardware that isn't adjustable if you can't find an adjustment screw at all. Before you spend an hour searching for it, it's worth understanding.
What you require
√ The screwdriver that fits your hinge or a hex key set
√ A couple of paint stir sticks or two or three thin shims
√ Spray silicone
√ A fresh cloth
The five-minute method for adjusting glass shower door hinges
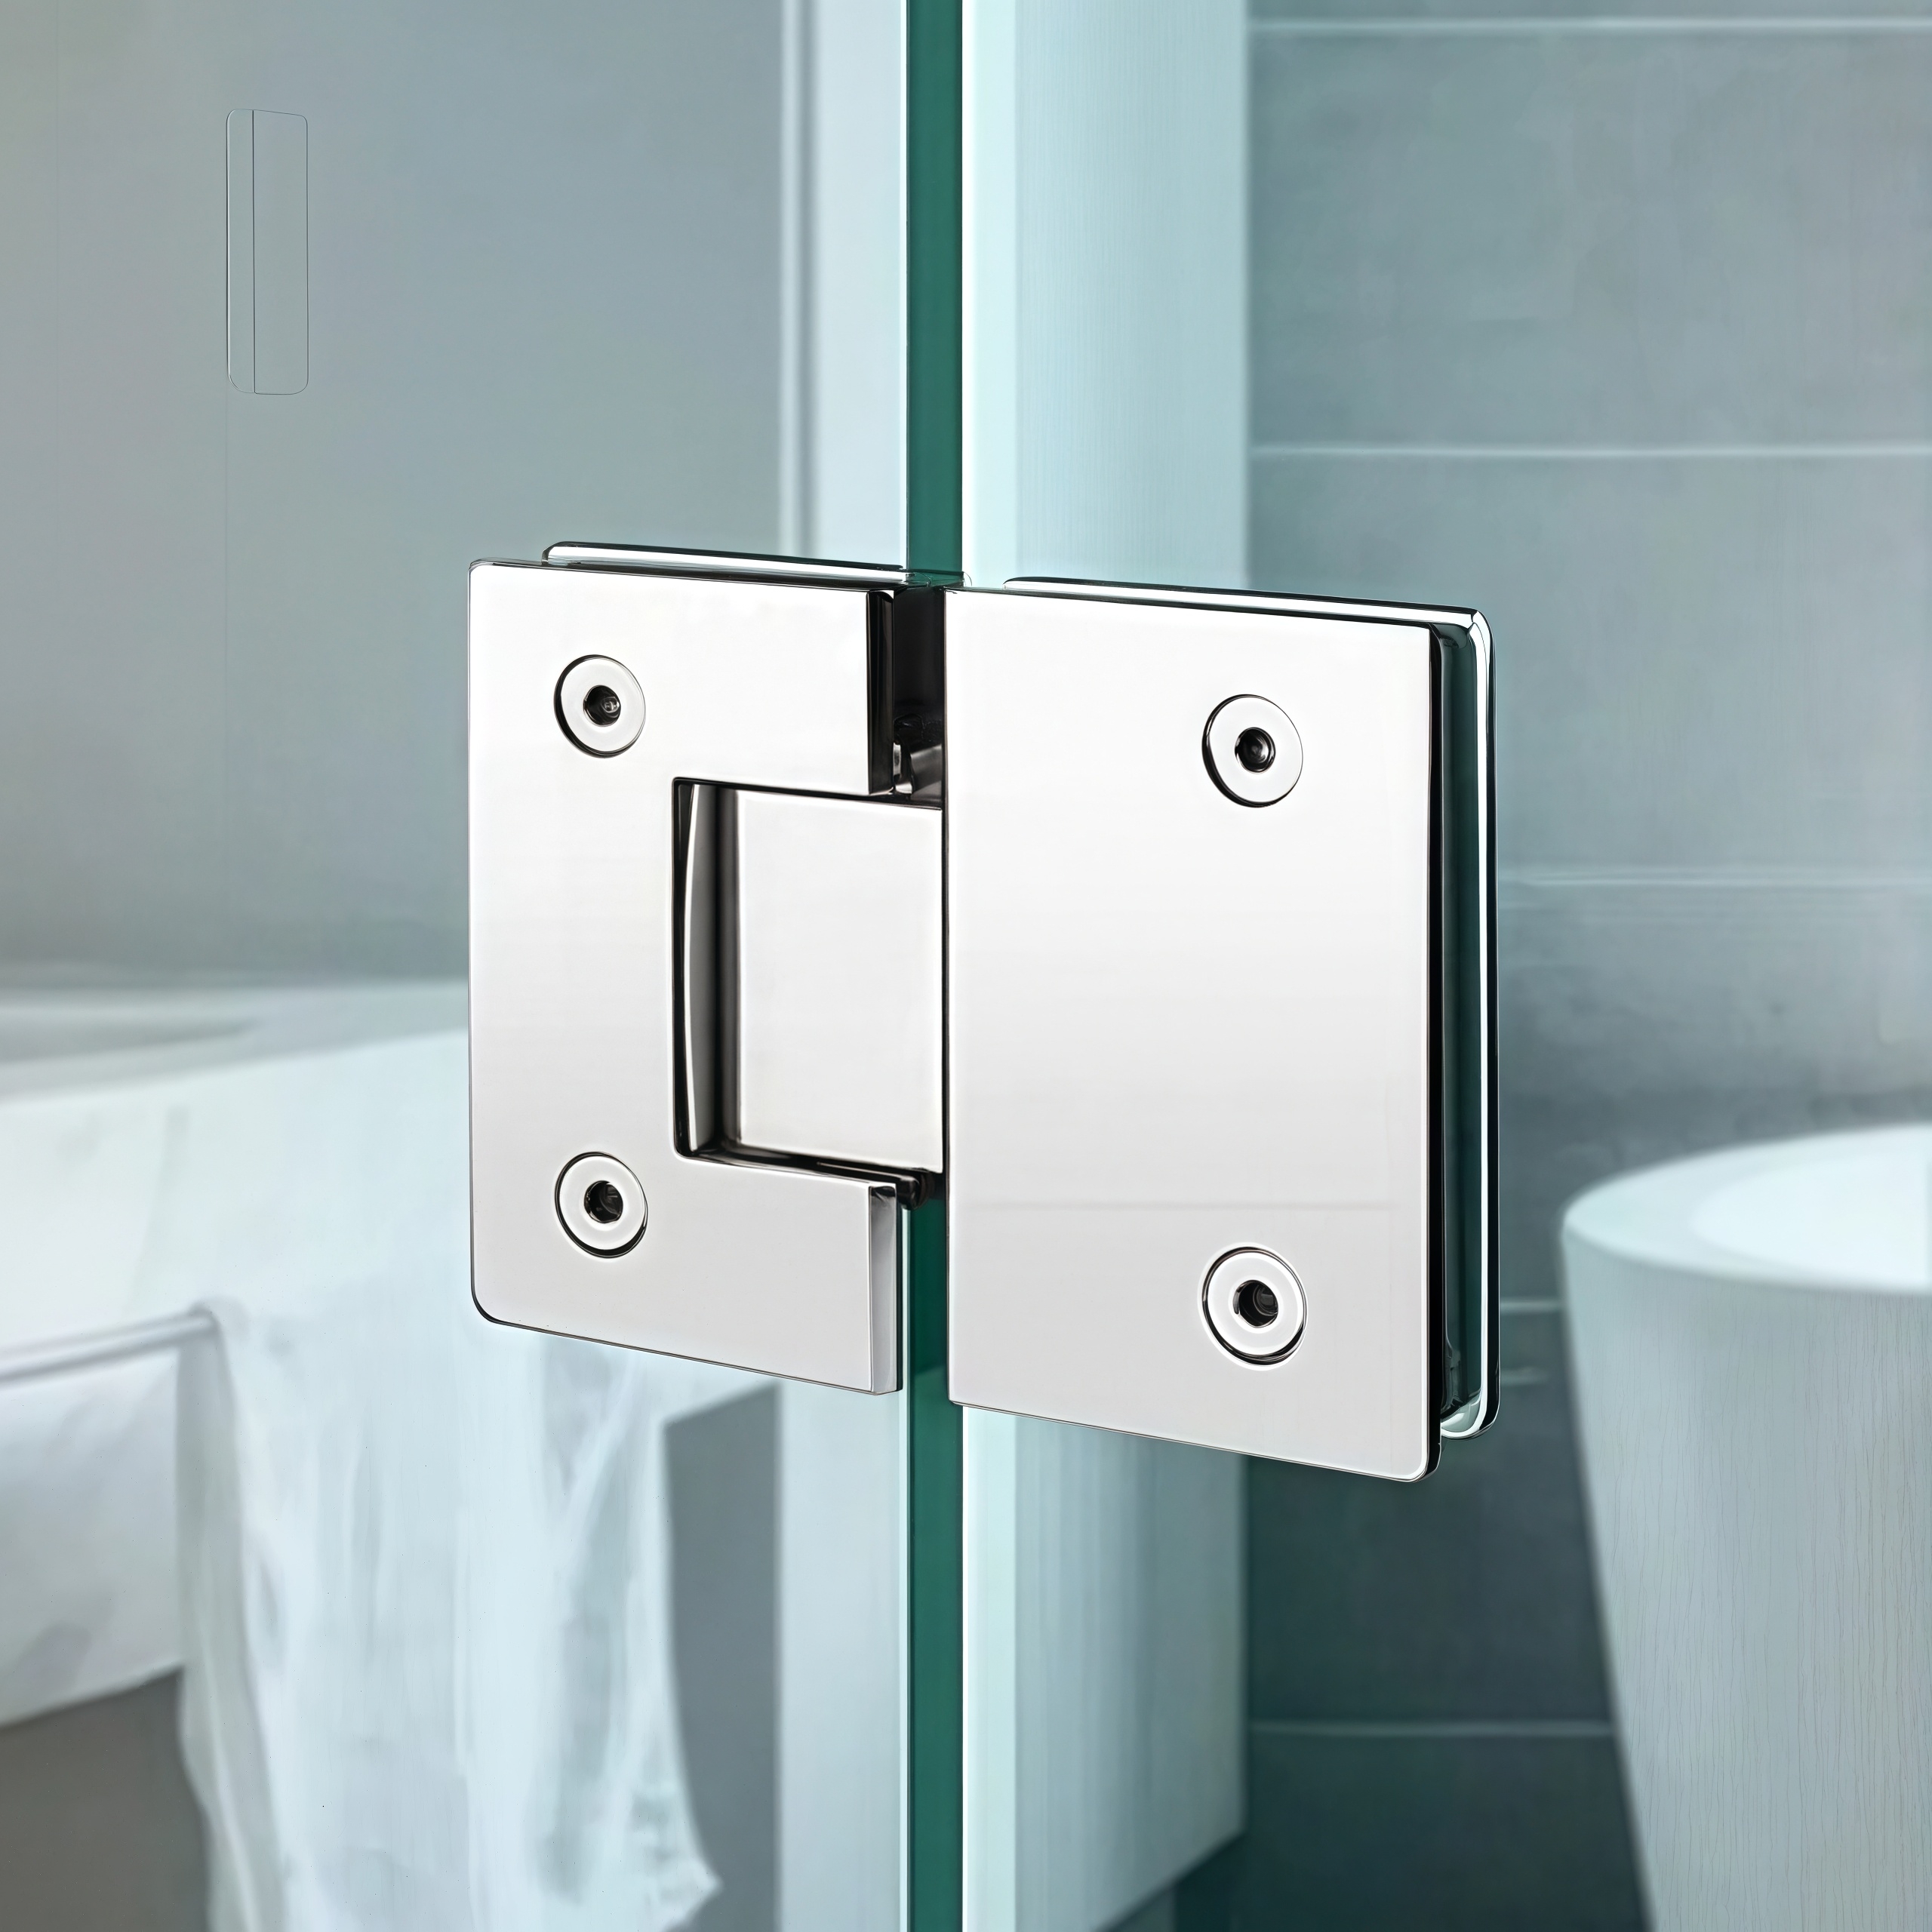
Step 1. Shim and loosen. To make the door sit at the desired height, place wedge shims beneath it. Next, unscrew the mounting screws on the problematic hinge, which is typically the top hinge, as sag begins there. Just enough to allow the glass shower door hinges to move. Stop and make sure you're using the correct driver if you can't get a screw to turn; removing a soft screw head can make a five-minute task into a drill-out.
Step 2. Adjust the top hinge first. If the door is drooping, move it toward level by loosening the top hinge's horizontal adjustment by a quarter turn. Although the orientation varies by brand, the vertical screw on the majority of models raises the door clockwise and lowers it anticlockwise. Watch what occurs when you turn slowly. You're either moving the wrong screw or the hinge isn't adjustable if the door doesn't move.
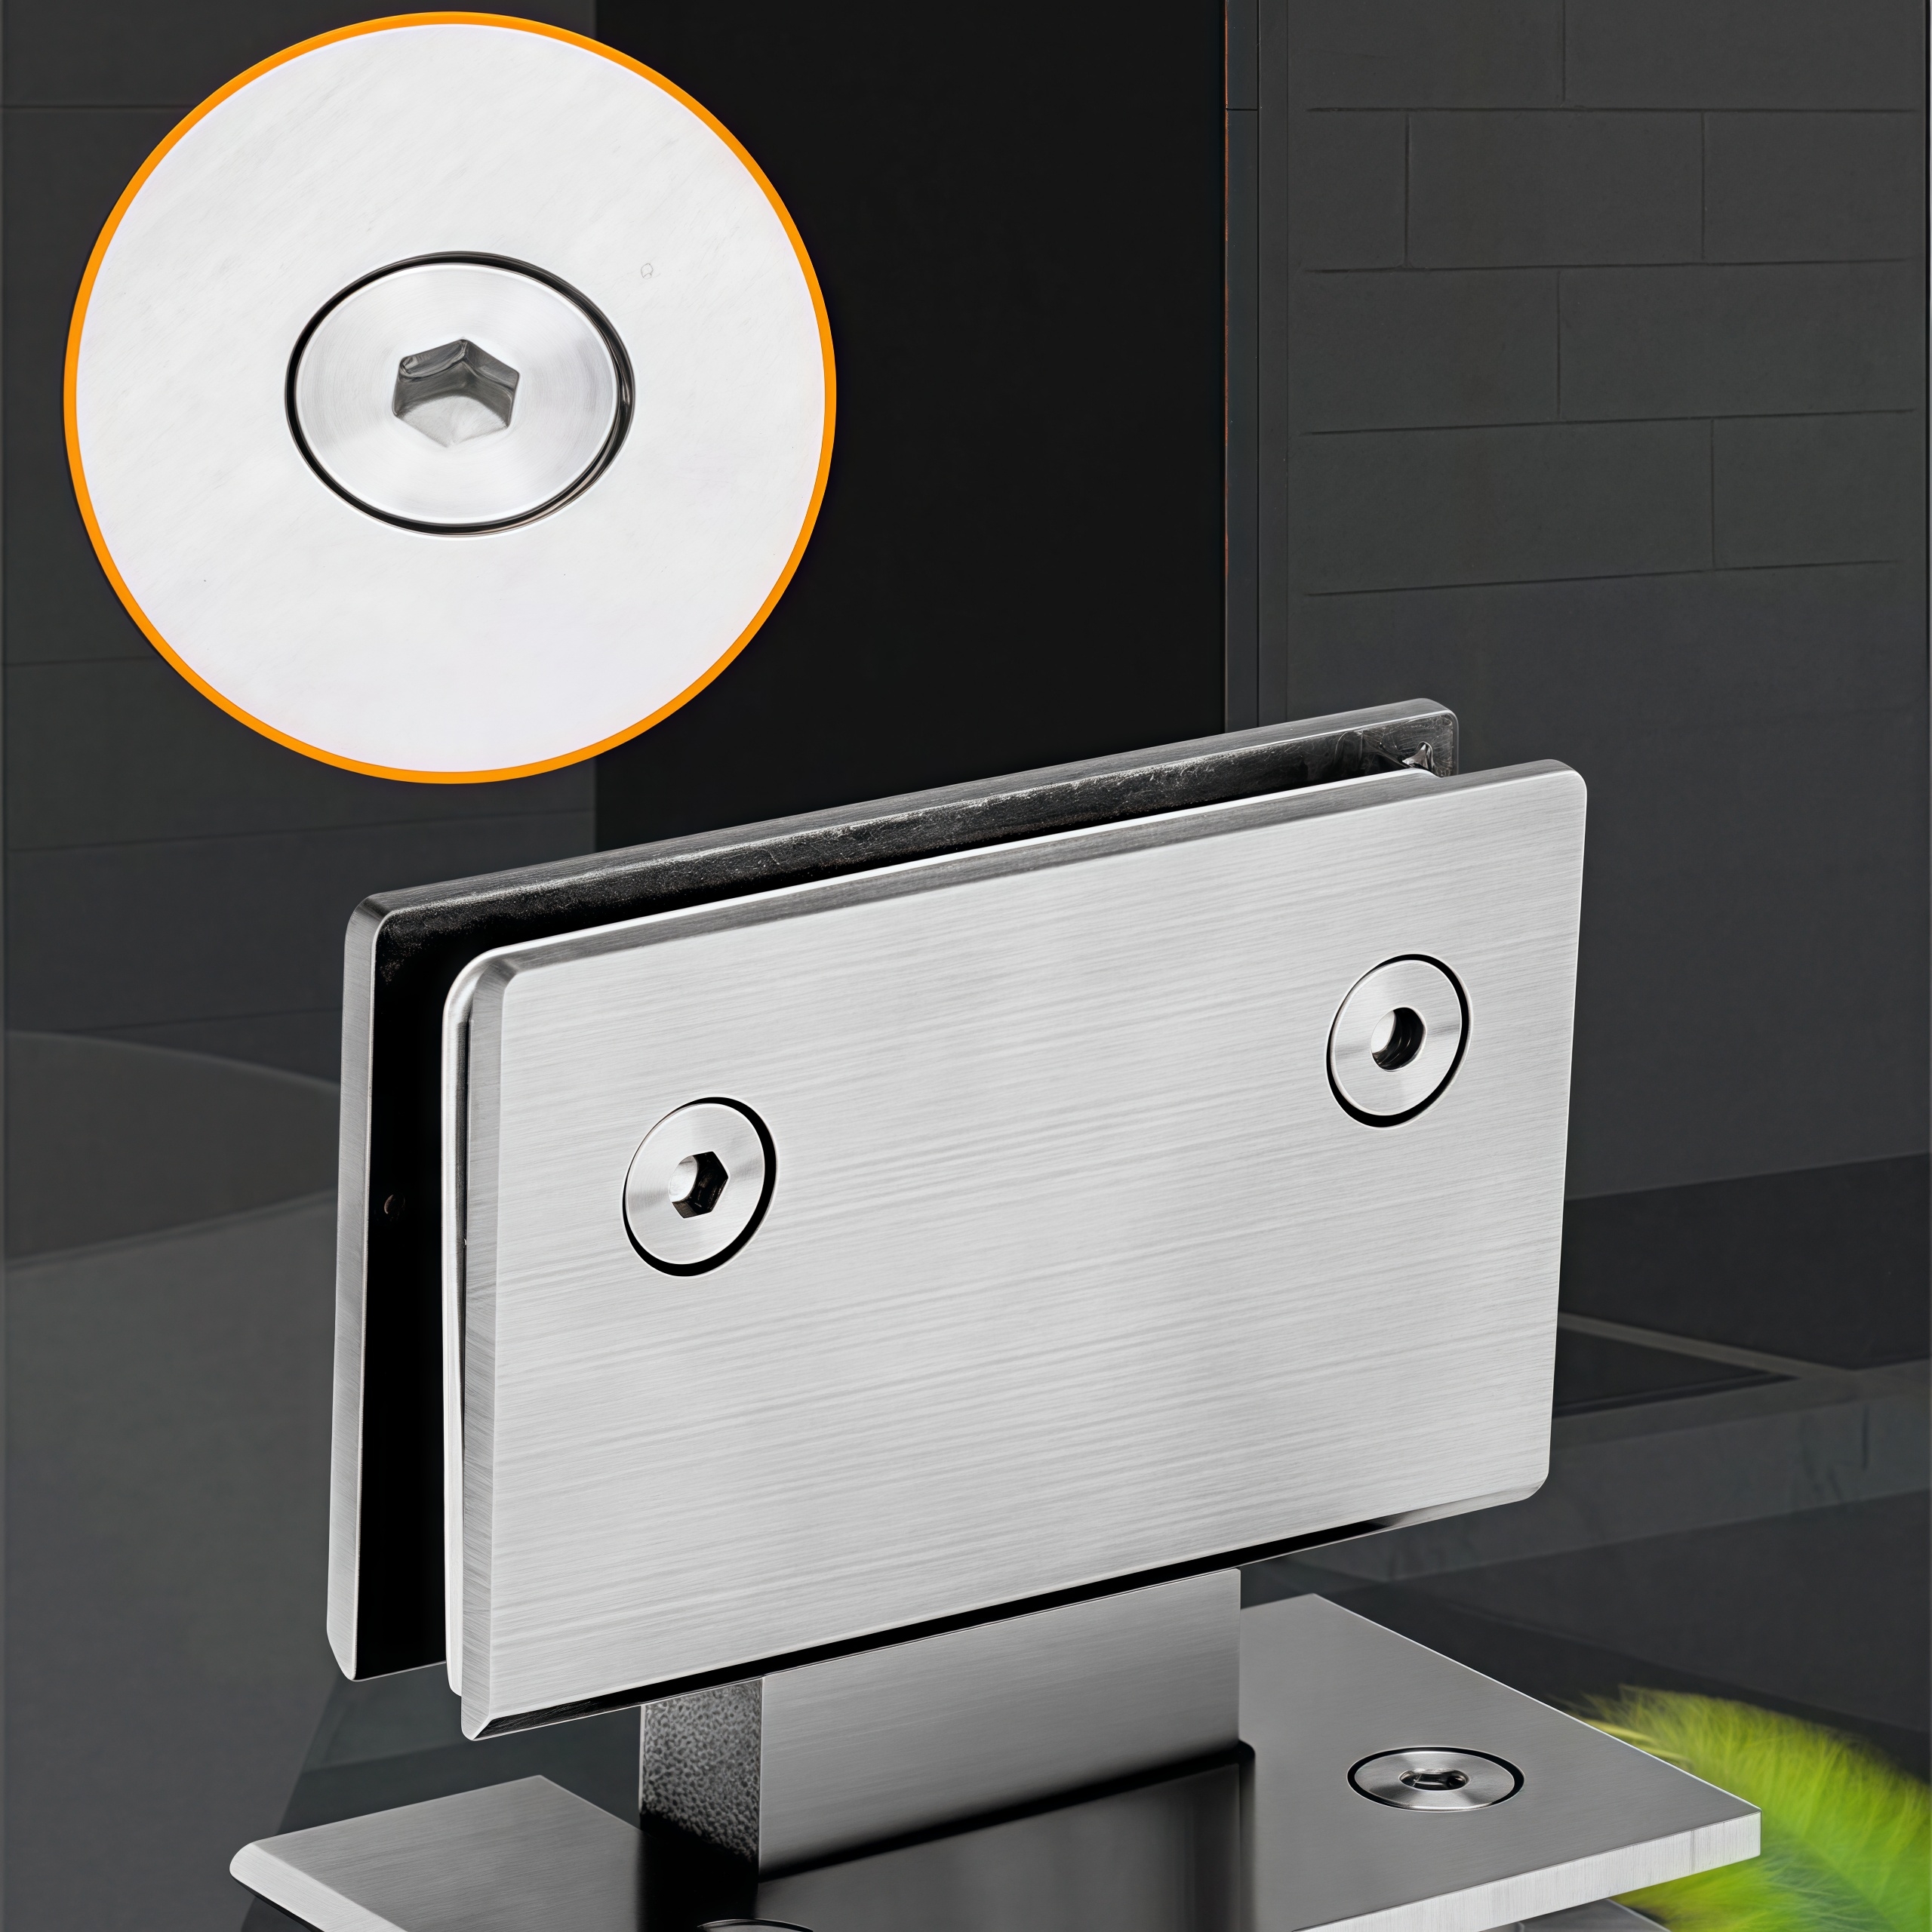
Step 3. Level it. Check the gaps after closing the door. Within an eighth of an inch, the top and bottom should run parallel to the wall or fixed panel. The remainder is confirmed by a phone level across the top border. Adjust the shower glass hinge on the side that is still low, then double-check. One quarter turn at a time. Doors become crooked in the opposite way when one side is overshot.
Step 4. Retighten in the proper sequence. The majority of guides omit this step, which is where changes are undone. Prior to tightening the hinge to the wall, tighten the hinge to the glass. If you do it the other way, the wall-side screws act as tho nothing is wrong while the glass-side screws maintain the door at the previous angle. The door has moved back a week later.
Step 5. Test the swing. The door is repeatedly opened and closed. It should swing freely, close without colliding, and remain in place once you release your grip. If it sags again right away, you've identified the real issue rather than failing the cure.
Glass door hinges on a glass shower door don't stick when adjusted
Stop making adjustments if the door sags once more within a month. Something beneath the hinge is the issue, not the hinge itself.
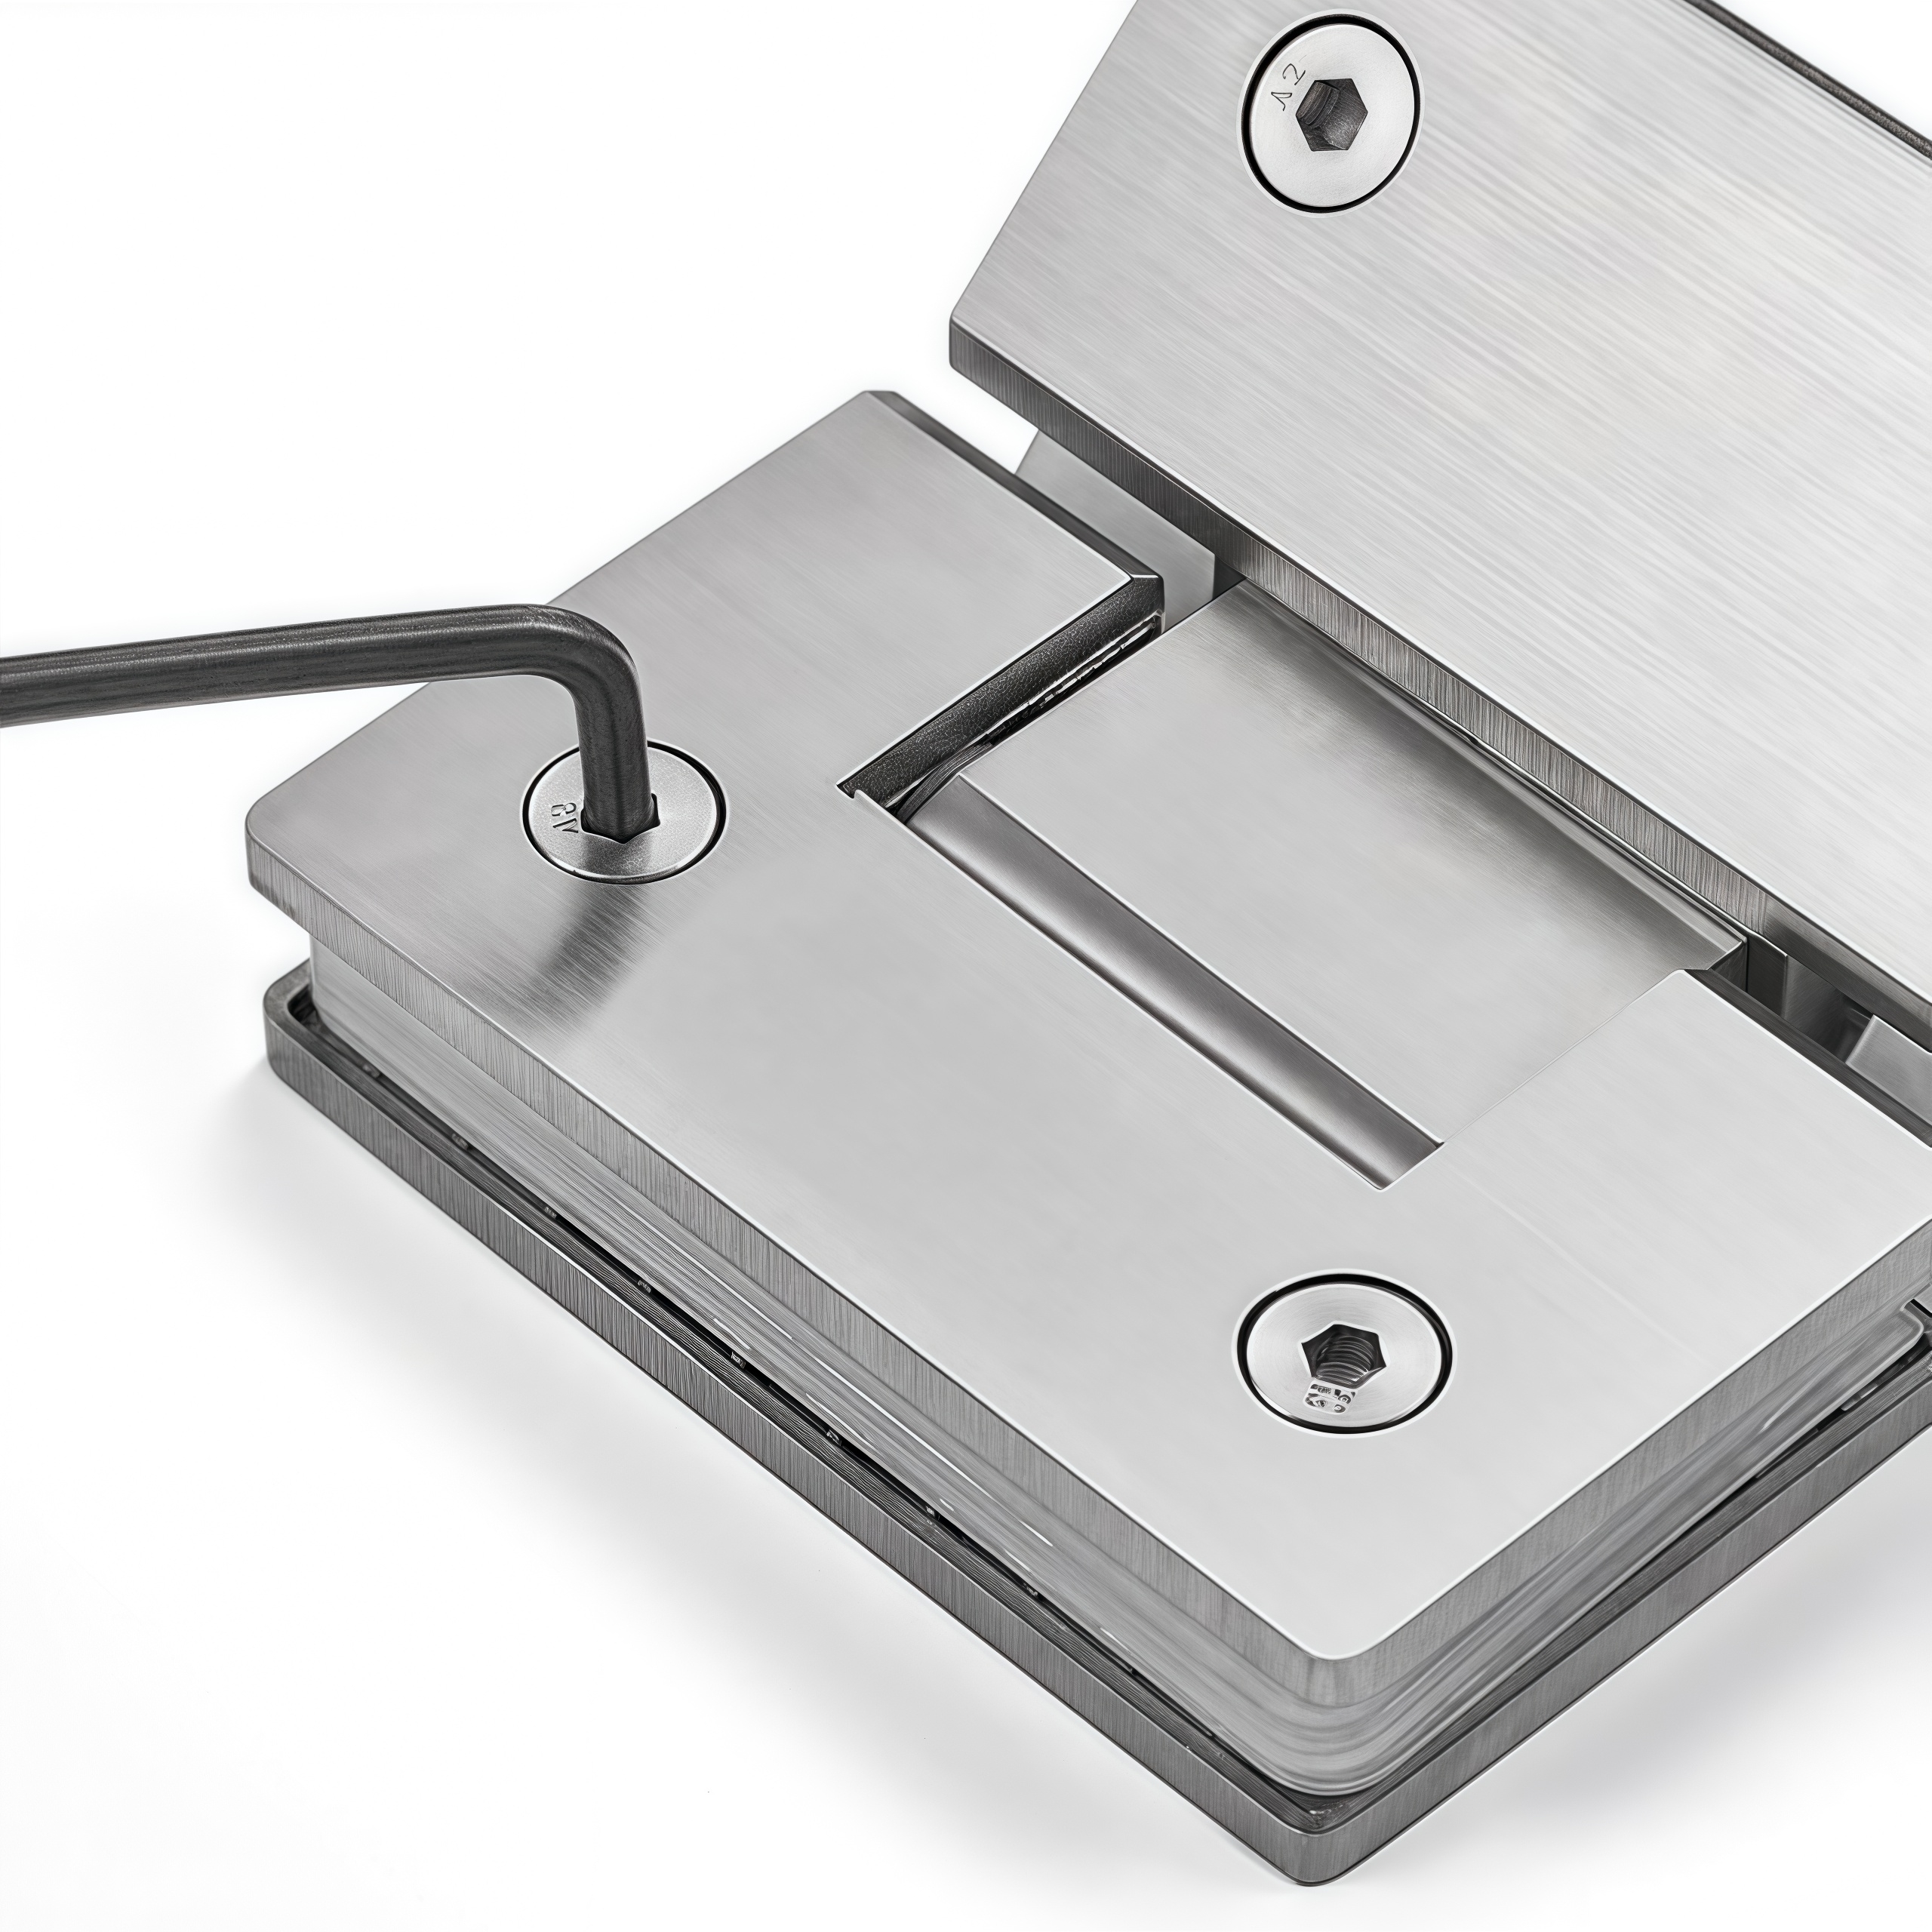
Prior to checking the wall anchor, check the gaskets. Next, compare the hinge's load rating to the door's weight. Every readjustment only treats the symptom of one of the three failures.
Particular consideration should be given to the wall anchor. The frameless shower door brackets that support the weight of a two-hinge door require strong support behind the tile. Re-anchoring is a tile repair task, not a hinge repair, if one is coming loose from plasterboard. It's not that the work is difficult. Rather, it's a call-the-pro scenario. The reason for this is that the repair is located behind the tile you are viewing.
The costly one is the sizing error. No matter how carefully you set it, the glass hinge will continue to drift if your door weighs more than about 80% of the hinge pair's rating. A heavier glass shower door hinges is the proper solution. No amount of screw turning alters the mechanics of glass-hinged frameless doors, which bear their entire weight on two hinge blocks.
Know what you have before purchasing tools, since pivot hinges for glass shower doors operate differently. Instead of using side hinges, a pivot system hangs the door from top and bottom pivots. Instead of shimming a side edge, you level it by independently adjusting the two pivot points. A door that swings properly but won't stay closed can be fixed with pivot hardware that even shifts the closed position by moving the pivot pin five degrees in either direction. Keep in mind that the top and bottom pivot mounts are frequently supplied individually when looking for replacement glass shower door pivot hinges.
The third example is a shower door with a continuous hinge. There are no side screws to shim a full-height piano-style hinge; instead, the angle is controlled by the top or bottom screw, and if it is off, the hinge mounting is adjusted instead of the door position. Continuous hinges also conceal a common failure: the door edge is bowing because the frameless shower door brackets are too light for the panel, even tho the glass shower door hinges itself is good. That's not an adjustment. That's a replacement choice.
Prevent it from drooping once again
Every few weeks, use a non-abrasive cleanser to clean the glass hinged. At the pivot, soap scum accumulates and becomes grit. Apply silicone spray to the pivot once a year. Not petroleum. More quickly than any squeak that has ever irritated you, oil gathers soap scum and dries into a paste that wears down the glass shower door hinges.
As you clean, check the gaskets. Order replacement shower door hinge parts before they fully fail if they appear flattened or begin to break. Make sure you order the precise fit by reading the brand, model, size, and glass thickness markings that are stamped on the hinge body. A lookalike won't fit because hole patterns are unique to each brand.
The hardware for shower glass doors follows a typical pattern: finishes stain, gaskets collapse, and hinges wear out. The key to preventing a $15 item from turning into a $250 service call is to catch the problem early.
Regardless of how frequently you adjust it, a door that exceeds the hinge rating will continue to sag. There is no failure with the adjustment. It's the hinge.
When the hardware is in good condition, the five-minute adjustment is a true five-minute job. When it isn't, the adjustment lets you know quickly, and even if the solution is new glass shower door hinges, it's still worth the time.
FAQ
1.My door still sags after adjusting. What now?
Check the gaskets, wall anchor, and glass hinge load rating for potential problems.
2.Do I need to remove the door to adjust the shower glass hinges?
No. The door can be adjusted in place. Removal is only needed for glass hinge replacement.
3.Should I tighten the glass door hinges screws harder to stop the sag?
No. Overtightening can compress the gaskets and stress the glass.